
Yes, it is possible to connect AirPods to a Chromebook. The process of connecting AirPods to a Chromebook is similar to connecting them to any other Bluetooth device. However, there are a few things to keep in mind when trying to connect AirPods to a Chromebook.
- Make sure your AirPods are charged and turned on. If the AirPods are not charged, they will not be able to connect to your Chromebook.
- Check to see if your Chromebook is up to date. If your Chromebook is not up to date, it may not be able to connect to your AirPods. To check for updates, go to the settings menu on your Chromebook and look for the update option.
- Restart both your AirPods and your Chromebook. Sometimes, a simple restart can help resolve connection issues.
- Make sure Bluetooth is enabled on your Chromebook. To do this, go to the settings menu on your Chromebook and look for the Bluetooth option. Turn on Bluetooth if it is off.
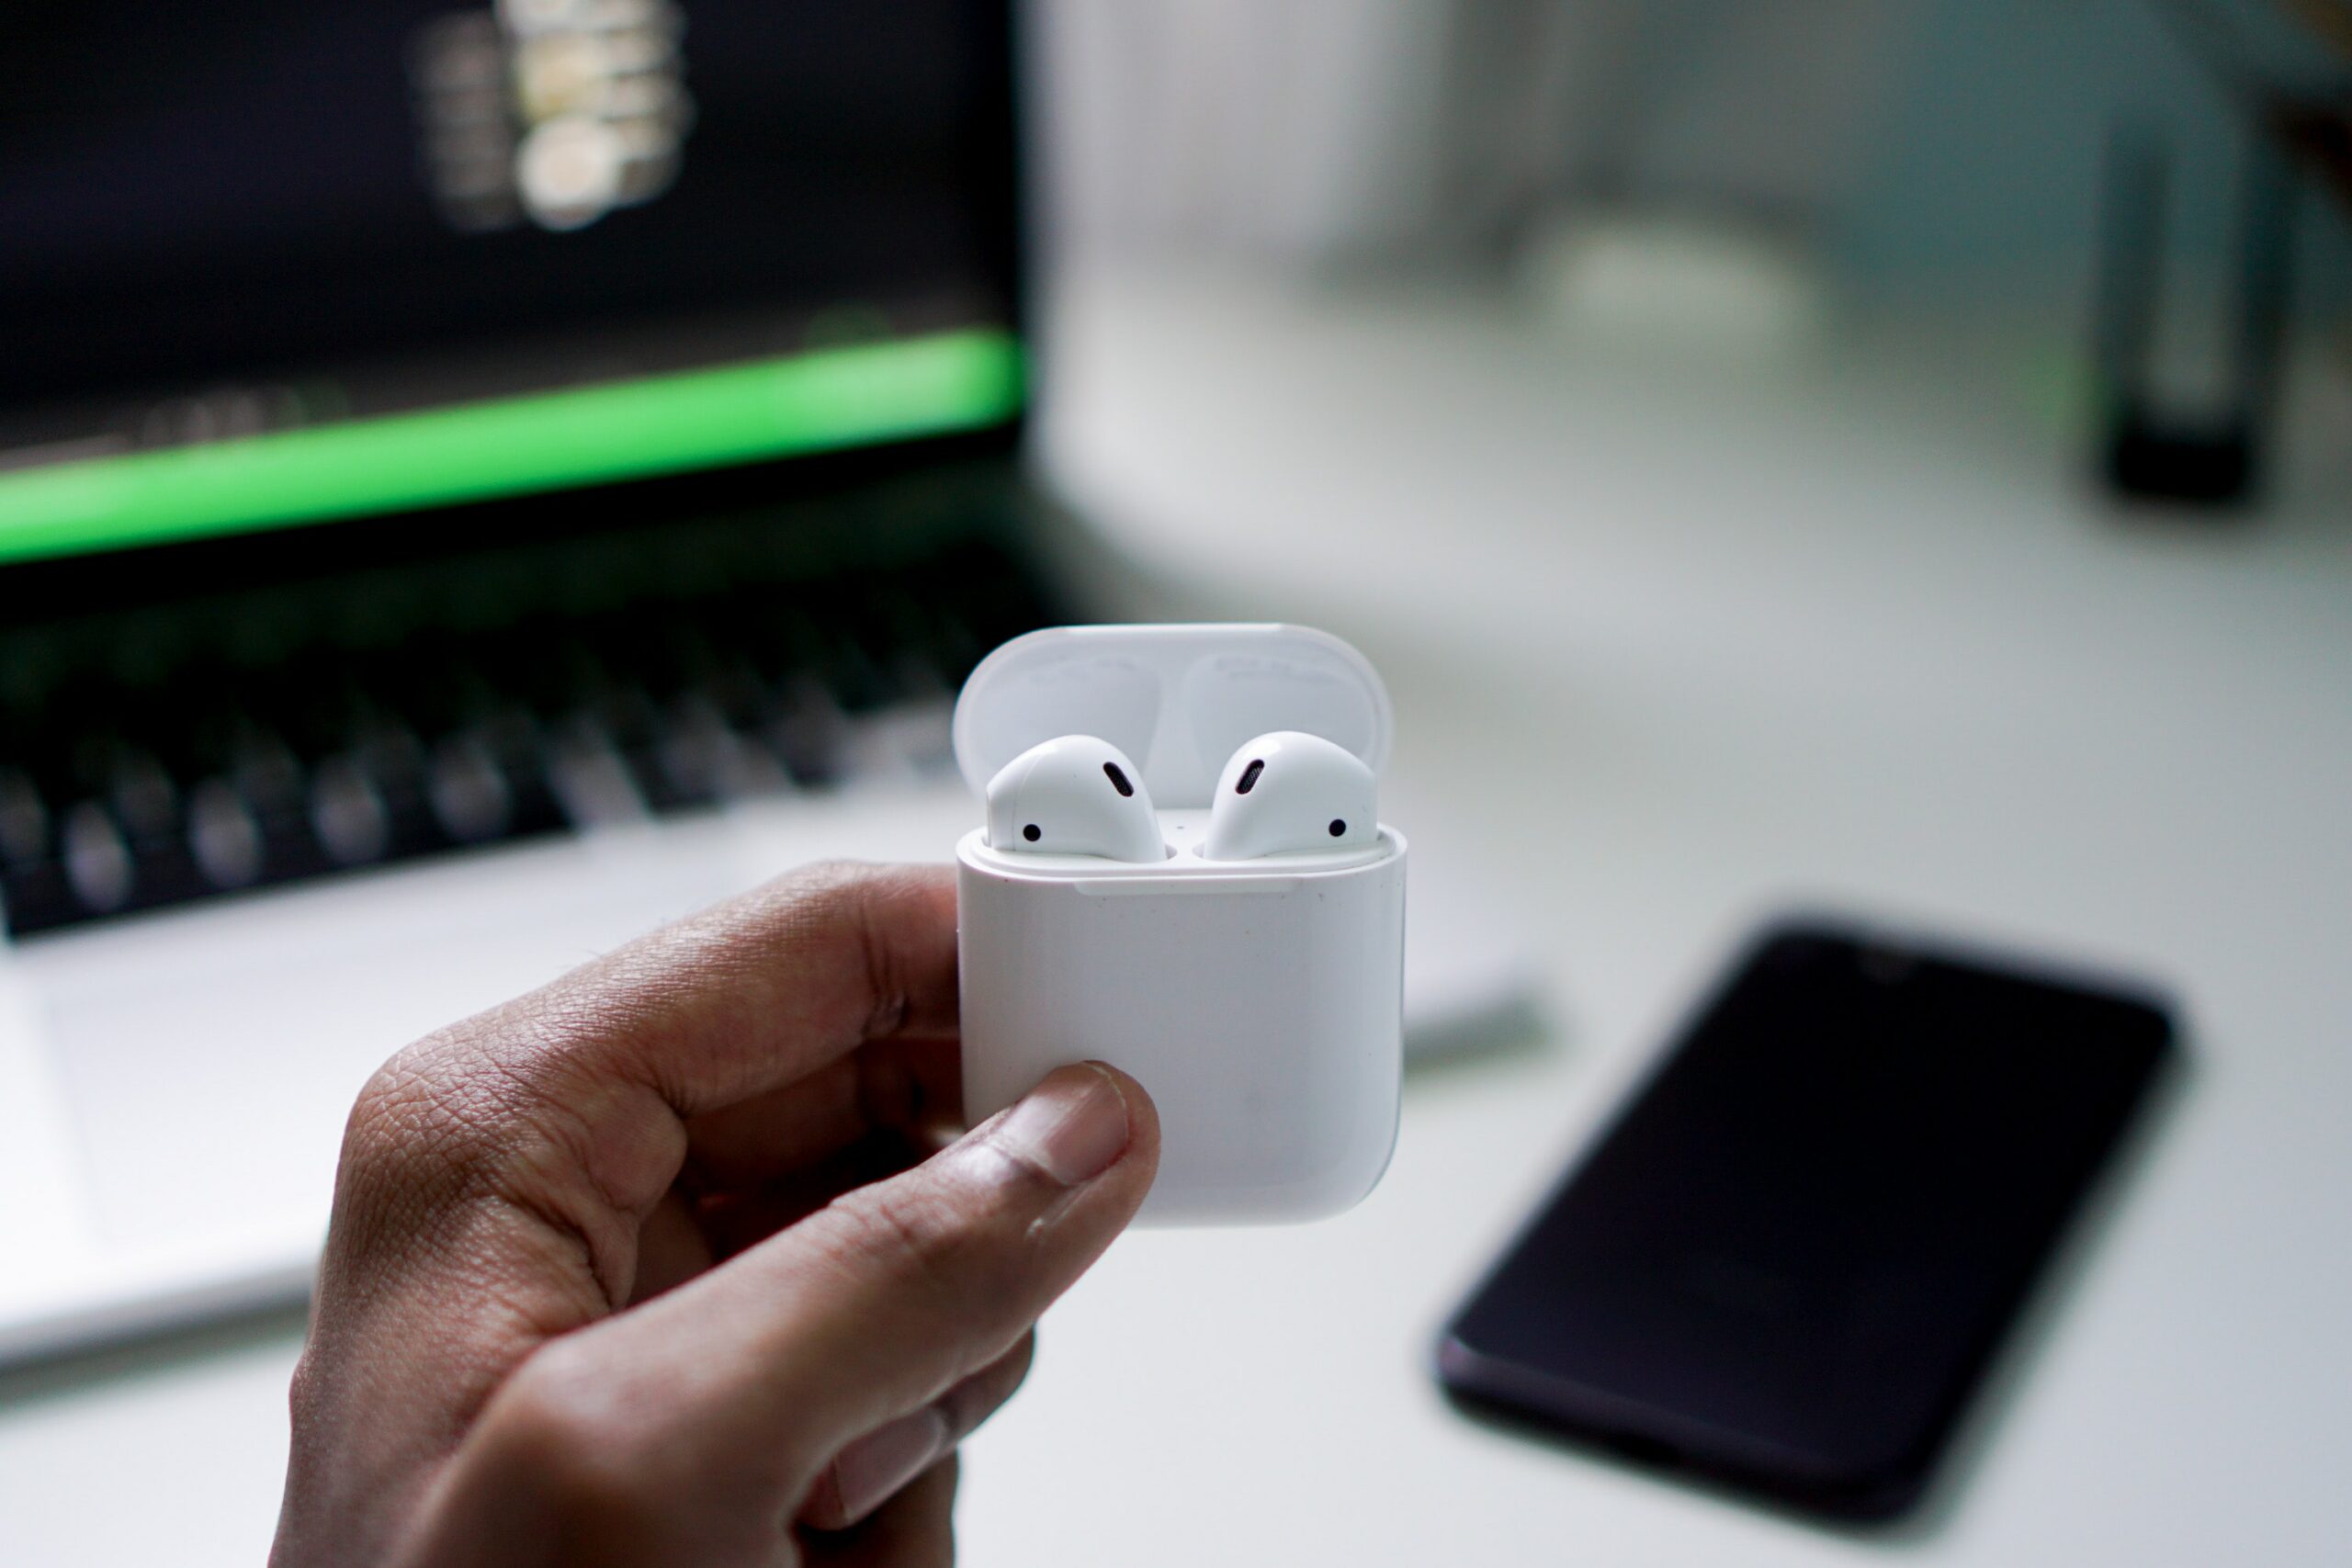
- Try pairing your AirPods with your Chromebook. To do this, put your AirPods in pairing mode by opening the case and holding down the button on the back until the light starts flashing white. Then go to the settings menu on your Chromebook and look for the Bluetooth option. Click on “Add device” and select your AirPods from the list of available devices.
- Check your Chromebook’s settings to see if there is an option to allow pairing with “unsecure devices” and make sure it is enabled. Some Chromebooks have a security feature that prevents them from connecting to unsecure devices.
- Check your chromebook’s security settings to see if it has restricted your airpods from connecting.
- If all the above steps fail, try contacting the customer service of either the AirPods or the Chromebook for further assistance.
It’s important to note that while most of the newer Chromebook models support Bluetooth, older models may not. Therefore, it’s important to check the specifications of your Chromebook to ensure that it has Bluetooth capabilities before attempting to connect your AirPods.
Additionally, if you have a newer model AirPods Pro or AirPods Max, it’s important to check if your Chromebook supports the newer Bluetooth version 5.0, as it may not be compatible with the older version 4.2.
Once you have successfully connected your AirPods to your Chromebook, you will be able to listen to music, videos, and other audio through the AirPods. You can also use the AirPods for making and receiving phone calls if your Chromebook has a microphone and speaker.
You can also control the volume of your AirPods through your Chromebook. To do this, go to the settings menu on your Chromebook and look for the volume option. You can also control the volume of your AirPods by using the volume controls on the AirPods themselves.
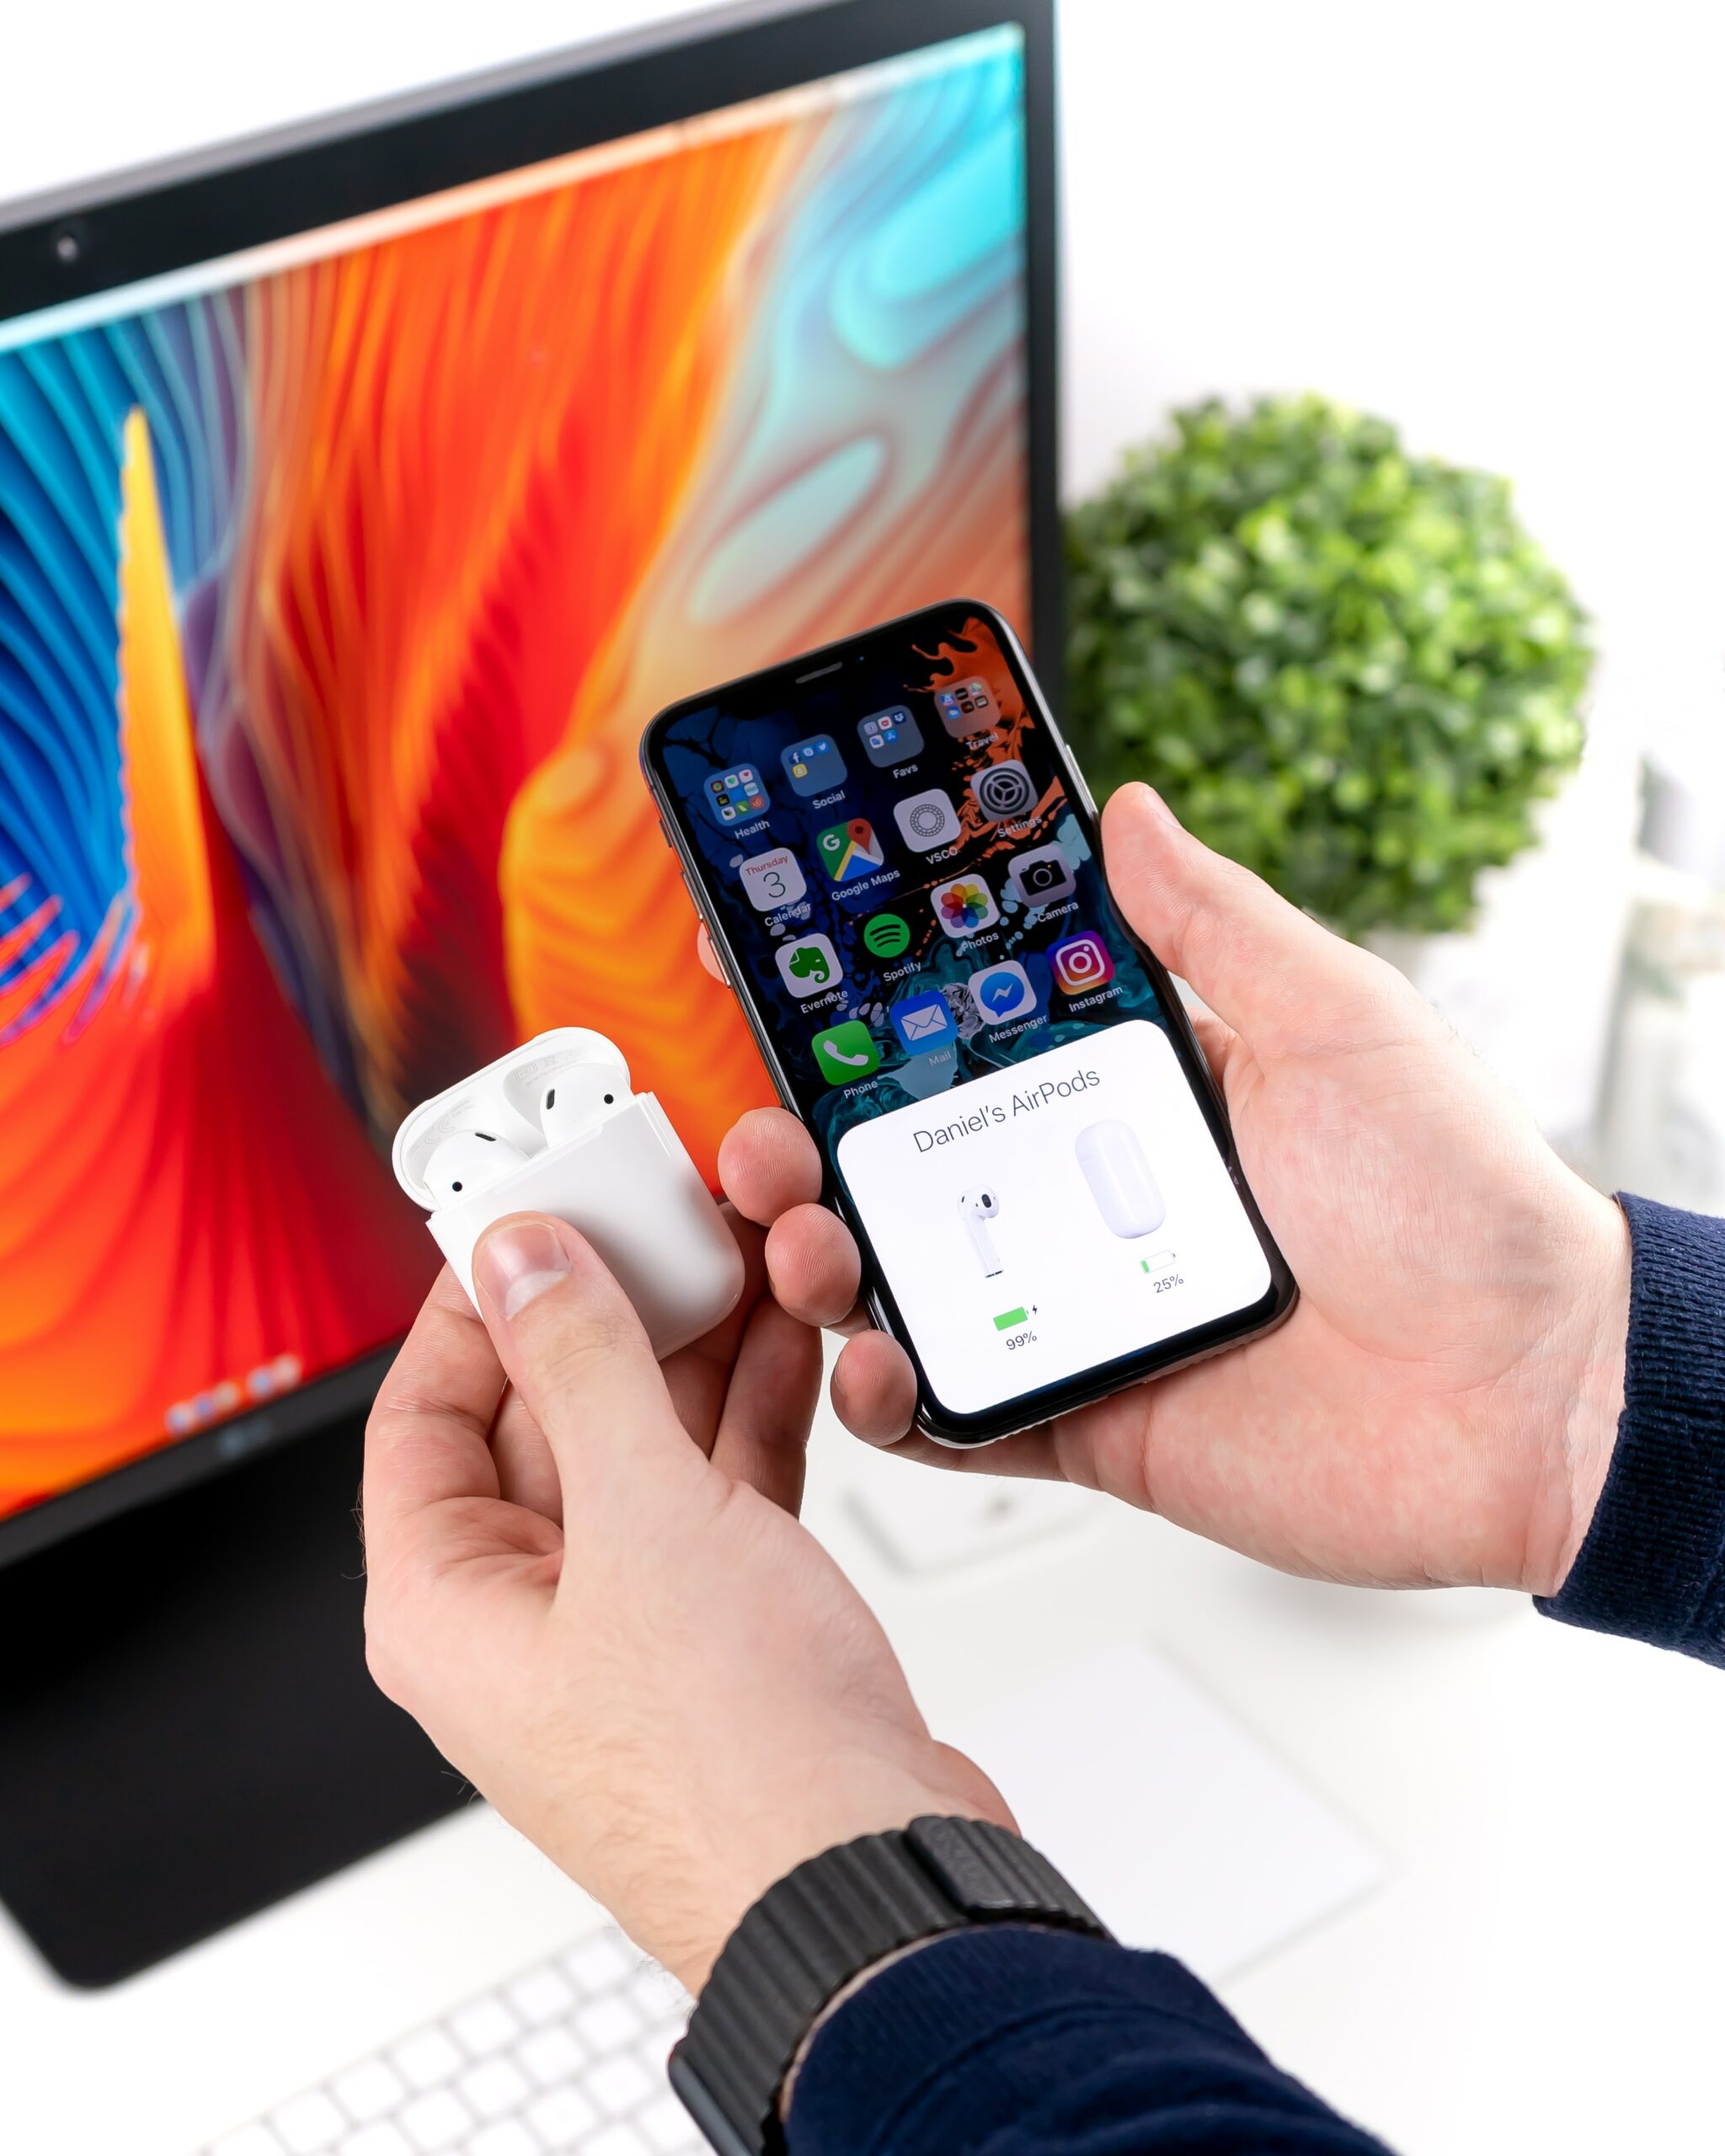
It’s worth noting that some of the features that you can use with your AirPods when connected to an iPhone or iPad, such as “Siri” or battery status, may not be available when connected to a Chromebook.
Overall, connecting AirPods to a Chromebook is a straightforward process, but there may be some compatibility issues to keep in mind. If you are having trouble connecting your AirPods to your Chromebook, try troubleshooting the issue by following the steps outlined above or contacting the customer service of either the AirPods or the Chromebook for further assistance.
To connect AirPods to a Chromebook, follow these steps:
Turn on Bluetooth on your Chromebook by going to the settings menu and selecting “Bluetooth.”
Put your AirPods in pairing mode by opening the lid of the charging case and holding the button on the back until the light on the front starts flashing white.
On your Chromebook, click on the “Pair new device” button in the Bluetooth settings.
Your AirPods should appear in the list of available devices. Click on them to begin pairing.
Once the AirPods are connected, you should be able to use them for audio playback on your Chromebook.
Note: Some Chromebook models may have different settings and steps, please refer to your Chromebook’s user manual for more information.
How to Unpair AirPods from Chromebook?
To unpair AirPods from a Chromebook, follow these steps:
- Go to the settings menu on your Chromebook and select “Bluetooth.”
- Find the AirPods in the list of connected devices and click on them.
- Click on the “Forget” or “Unpair” button to disconnect the AirPods from the Chromebook.
- Once the AirPods are disconnected, you will need to put them back into pairing mode if you want to connect them to the Chromebook again.
Note: Some Chromebook models may have different settings and steps, please refer to your Chromebook’s user manual for more information.
AirPods connect to the Chromebook but won’t Play the Audio or the Audio Lags?

If you are experiencing authentication failed error while trying to connect your AirPods to a Chromebook, there are a few things you can try to fix the issue.
- Make sure your AirPods are charged and turned on.
- Check to see if your Chromebook is up to date.
- Restart both your AirPods and your Chromebook.
- Make sure Bluetooth is enabled on your Chromebook.
- Try resetting your AirPods by placing them in the charging case and holding down the button on the back of the case until the light starts flashing white.
- Try forgetting the AirPods on your Chromebook by going to the Bluetooth settings and clicking on the AirPods, then selecting “Forget Device.”
- Try pairing your AirPods with another device, such as your phone, to ensure that the issue is not with the AirPods themselves.
- Check your Chromebook’s settings to see if there is an option to allow pairing with “unsecure devices” and make sure it is enabled.
- Check your chromebook’s security settings to see if it has restricted your airpods from connecting.
- If all the above steps fail, try contacting the customer service of either the AirPods or the Chromebook for further assistance.
It is important to note that the exact steps to troubleshoot may vary depending on the specific model of your AirPods and Chromebook. However, the above steps should provide a general guideline to help you resolve the issue.
How to Update AirPods?
AirPods are one of the most popular wireless earbuds in the market. To ensure they function properly and efficiently, it’s important to update them regularly. Here’s a step-by-step guide on how to update your AirPods:
Step 1: Check your AirPods’ firmware version
Before updating your AirPods, it’s important to check their firmware version. To do this, connect your AirPods to your iOS device and go to the “Settings” app. Tap on “General” and then “About” and scroll down to find your AirPods. Look for the “Firmware Version” section and check what version your AirPods are currently on.
Step 2: Ensure your iOS device is updated
To update your AirPods, you need to make sure your iOS device is updated to the latest version. To check for updates, go to “Settings” > “General” > “Software Update”. If there’s a software update available, download and install it before proceeding with the AirPods update.
Step 3: Connect your AirPods to your iOS device
To update your AirPods, you need to have them connected to your iOS device. Make sure your AirPods are fully charged and in their case. Open the lid of the AirPods case and hold it next to your iOS device. Follow the on-screen instructions to pair your AirPods with your device.
Step 4: Update your AirPods
Once your AirPods are connected to your iOS device, you can update them. To do this, go to the “Settings” app and tap on “General”. Scroll down and select “About” and then select your AirPods. If there’s an update available, you’ll see an option to update your AirPods. Tap on “Update” and follow the on-screen instructions to begin the update process. Note that the update process may take several minutes to complete.
Step 5: Check your AirPods’ firmware version again
Once the update is complete, check your AirPods’ firmware version again to confirm that the update was successful. Go to “Settings” > “General” > “About” and scroll down to your AirPods. If the firmware version has changed, your AirPods have been successfully updated.
Additional Information:
AirPods typically update automatically when they’re connected to your iOS device and a new update is available. However, you can also check for updates manually by following the steps above.
It’s recommended to keep your AirPods’ firmware up to date to ensure they function properly and to fix any bugs or issues that may arise.
If your AirPods are having issues after an update, you can try resetting them by going to “Settings” > “Bluetooth” on your iOS device, tapping the “i” icon next to your AirPods, and selecting “Forget This Device”. Then, reset your AirPods by placing them in their case and holding the button on the back until the LED light flashes amber. Finally, reconnect your AirPods to your iOS device and try using them again.
If you’re having trouble updating your AirPods, make sure you have a stable internet connection and that your iOS device is charged. You can also try resetting your AirPods before attempting the update again.
AirPods firmware updates can bring new features and improvements, such as better connectivity and battery life, so it’s recommended to update them regularly.
Updating AirPods is a simple process that can be done by following these steps:
- Open the lid of the AirPods charging case while they are inside.
- Connect the case to a power source using the lightning cable.
- Make sure your iPhone or iPad is nearby, and that it is connected to the same Wi-Fi network as the AirPods.
- Go to the “Settings” app on your iPhone or iPad.
- Tap on “General” and then tap on “Software Update.”
- If an update is available for your AirPods, it will appear here.
- Follow the on-screen instructions to install the update.
It’s important to note that updates for AirPods may also include updates for their firmware. This means that if you connect your AirPods to another device like an Android phone, it may not show the update being available. In such case, you can check the availability of update by connecting your AirPods to an iPhone or iPad, where the firmware updates are typically more frequent.
It’s also important to make sure your AirPods have enough battery before starting the update process. If they don’t, connect them to the charging case and wait until they have enough power before updating.
There are several potential reasons why your AirPods may not be playing audio properly on your Chromebook, or why there may be audio lag. Some possible solutions include:
Make sure that your AirPods are fully charged and connected to your Chromebook
Check to see if your AirPods are connected to another device. If they are, disconnect them from that device before trying to connect them to your Chromebook.
Make sure that your Chromebook’s Bluetooth is turned on and that your AirPods are in pairing mode.
Try resetting your AirPods by placing them in the charging case and holding down the button on the back of the case until the light on the front of the case starts flashing white.
Check your Chromebook’s audio settings to make sure that the correct output device (your AirPods) is selected.
Try updating the firmware on your AirPods.
Restart your Chromebook and try connecting your AirPods again.
Try to connect your AirPods to another device and see if the issue persists.
If the problem still persists, you may need to contact Apple support or the manufacturer of your Chromebook for further assistance.
Additionally, Make sure that your Chromebook’s audio drivers are up-to-date and in working condition. If the audio driver is out-of-date, it can cause audio lag or other problems.
If the problem is not resolved by any of the above solutions, then It could be a problem with your AirPods or Chromebook and may need to be repaired or replaced.
In conclusion,
There are a variety of potential reasons why your AirPods may not be working properly on your Chromebook, or why there may be audio lag. Try the solutions outlined above and if the problem still persists, you may need to contact Apple support or the manufacturer of your Chromebook for further assistance.